I would love to take the credit for coming up with the idea to do a Rodarte Spring 2019 inspired hair couture look, but it was all Anchyi. We are planning another flora couture shoot coming up in October, and she must have known I would be obsessed with the inspiration.
Juggling morning Flower Guild at the National Cathedral and a delivery for the Historic Alexandria Homes Tour in the afternoon, I rushed over to Carine’s Bridal Atelier to find what looked like a princess sitting before me in Vera Wang Couture.
Her hair looking “fierce” by Jerome Obry and “artistically contoured” makeup by Own Your Wonder at Izzy Salon, her photographer was calmly taking photos. This is all in great anticipation of Capitol File Magazine’s Fall Fashion Frenzy Party at The Perry Belmont House in DC.
Completely hands on, a lady with a vision, Anchyi knew what she wanted and began effortlessly pinning the face flowers in place. She was delighted that they had already been taped and wired, commenting that when she got married, they simply stuck the stems directly in.
While there is nothing exactly wrong with that, the tape and wire do help to lock moisture into the flower, and can work as hooks and holds to keep the flowers secure. It was very helpful that the hair style she choose was a partial updo with a braid. This meant her hair was already secure, and gave us lots of places to hide our mechanics.
So, if you have read this far, it must mean that you are interested in learning just how to do that.
Enjoy, and if you have any trouble please feel free to DM me over Instagram.
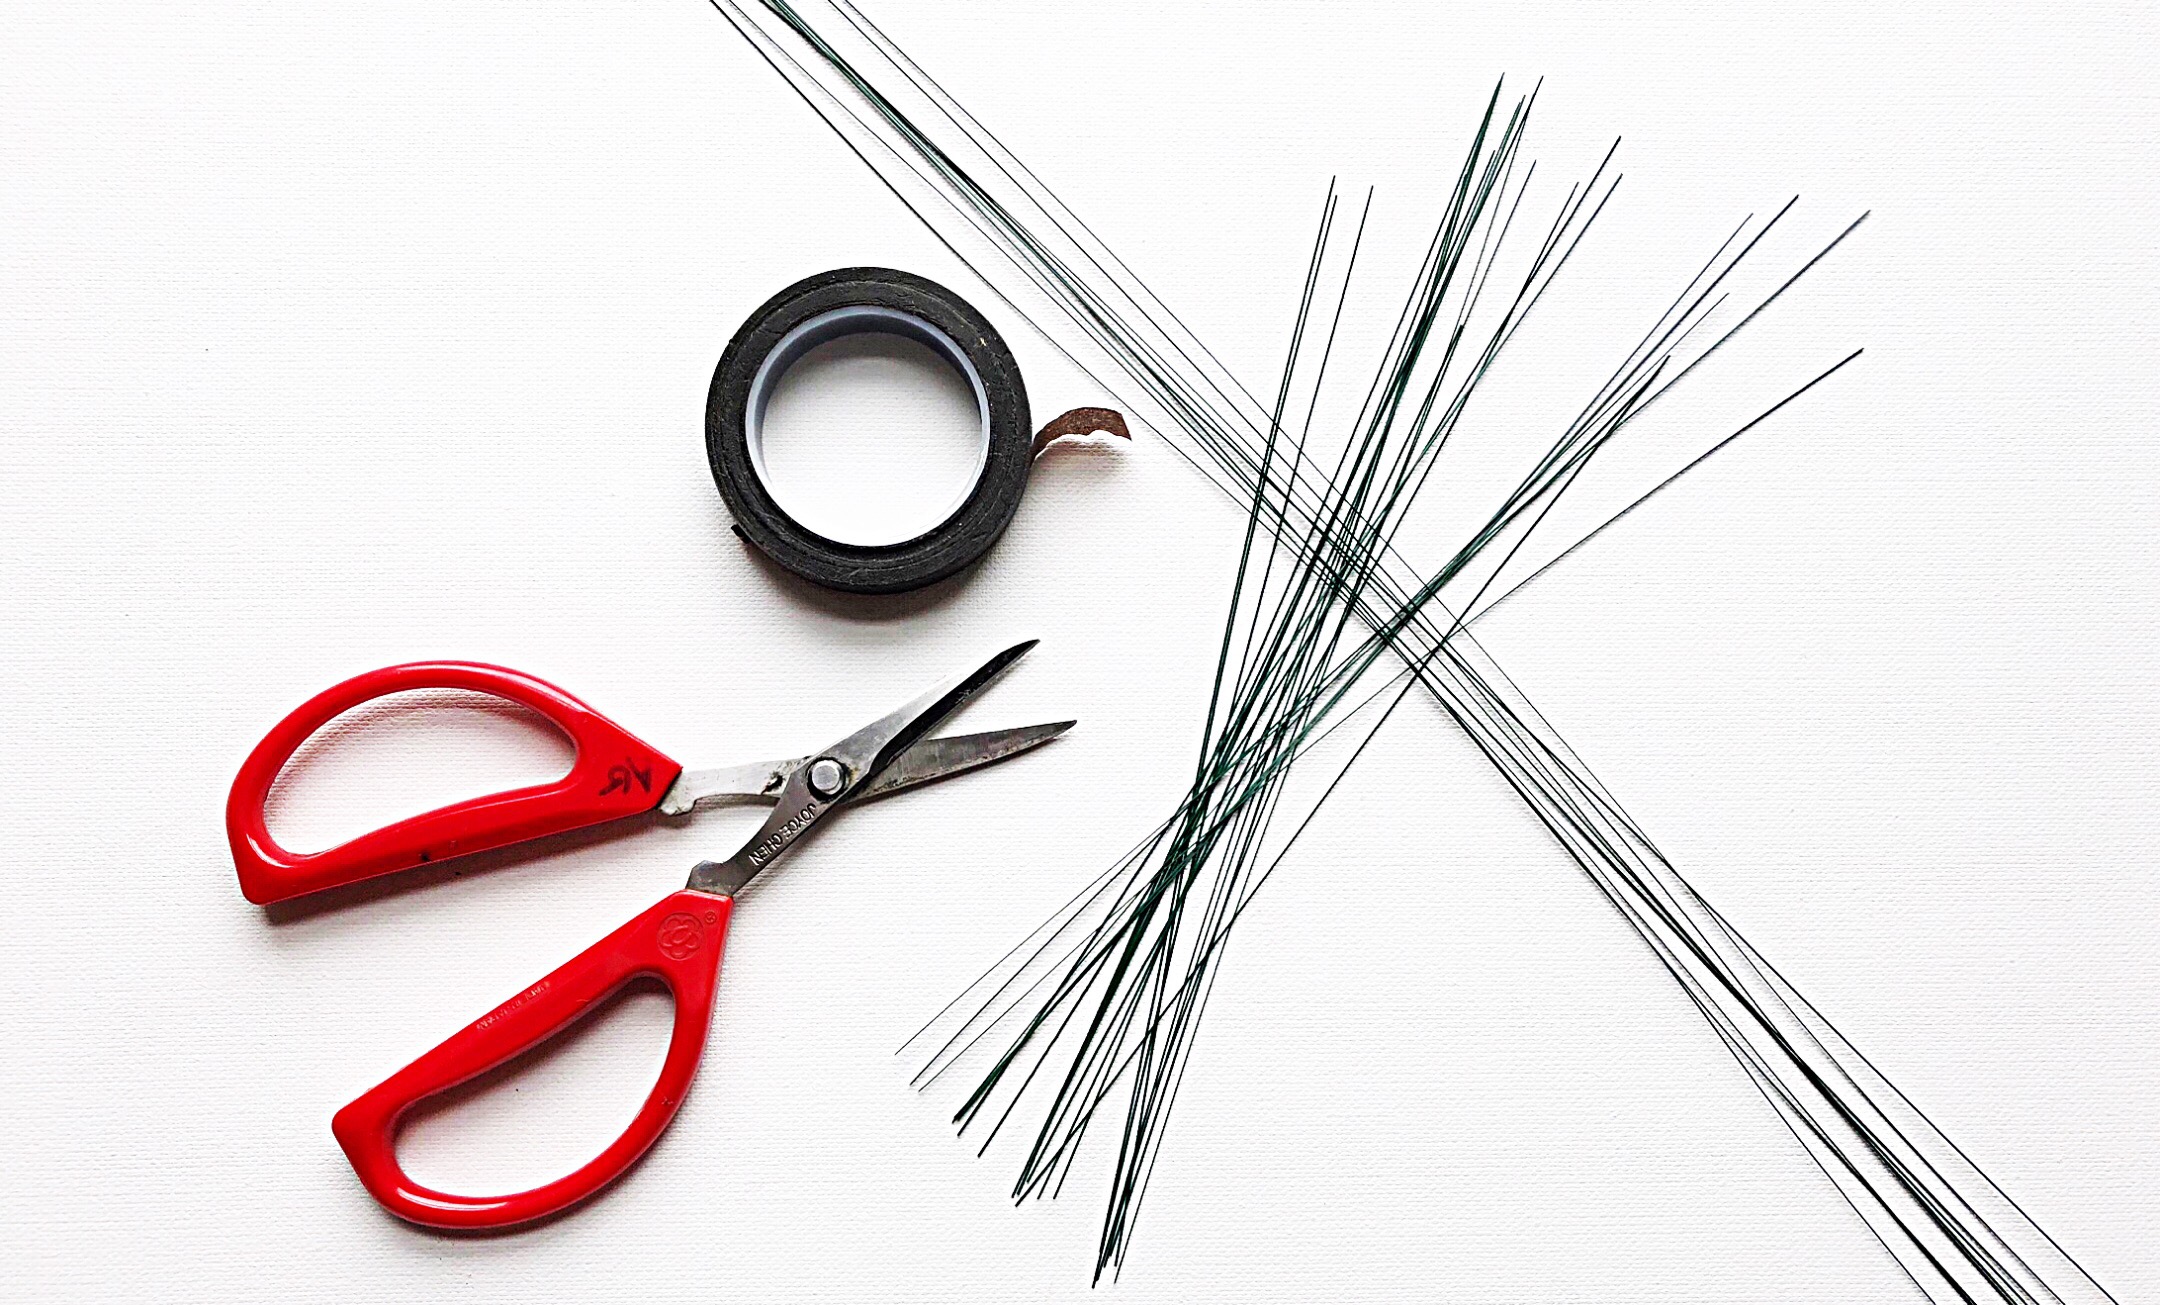
You will need scissors, brown or white florist tape and thin (28 gauge) wire.
Below are the pictures for how to individually wire a single rose.
Cut the rose on an angle leaving about 1/2” to 3/4” stem. This is important because you need the stem to tape the wire too. If you do not cut on an angle, there will be a gap between the stem and wire and it will be harder to slide it in the hair.
Depending on the weight of the flower you will either use 1 wire or 2 in a “x” through the bulb of the stem base, just where it meets the petals.
Fold the wires smoothly down the stem until they all come together into one.
Pre-stretch your tape, and pinch it in place, just below the petals.
Wrap tape all the way down the stem and wires. You will want to have 3” to 5” of wire to work with.
When placing the flower in you can either stick it straight in and secure it with a bobby pin or hook or loop it into place. The wire is very malleable and easy to work with.
Below are the instructions for how to achieve the floral chandelier effect.
You will need between five and seven small spray roses of varying sizes.
Cut the stem off completely to the “bottom” of the flower- so there is no stem at all, except on your very last and largest of your roses. On the last rose, leave 1/2” stem on an angle.
Pierce directly through the center of your smallest flower so it is “skewered.”
Create a 1/2” hook and then pull that back into the “face” of your smallest rose.
Start stringing the rest of your roses in order from smallest to largest, pulling them close into one another.
When you get to your largest rose, tape the stem to the remaining wire.
Depending on where you want to place it, leave an appropriate length of wire and hook it into place.
Enjoy your couture flower look:)


